 Fairhaven Siding
 Siding Installation Built for the Bow Area's Coastline Climate
Bow sits along the Samish Bay shoreline south of Fairhaven, close enough to the water that homes here take a different kind of weathering than houses just a few miles inland. Salt-laden air off the bay, driving rain that comes sideways off Puget Sound storms, and a long, damp moss season that can stretch from October into May all work on exterior siding year-round. When we install siding in this area, we're not just matching a color to a house — we're building an assembly that has to shed water, resist salt corrosion on fasteners and trim, and keep moisture from working its way behind the cladding for the next several decades.
This page covers what a siding installation project actually involves for a Bow-area home: what the climate demands, what correct installation looks like step by step, how our process runs from estimate to final walkthrough, and why a crew that already works this stretch of coastline gets better long-term results than a crew that doesn't.
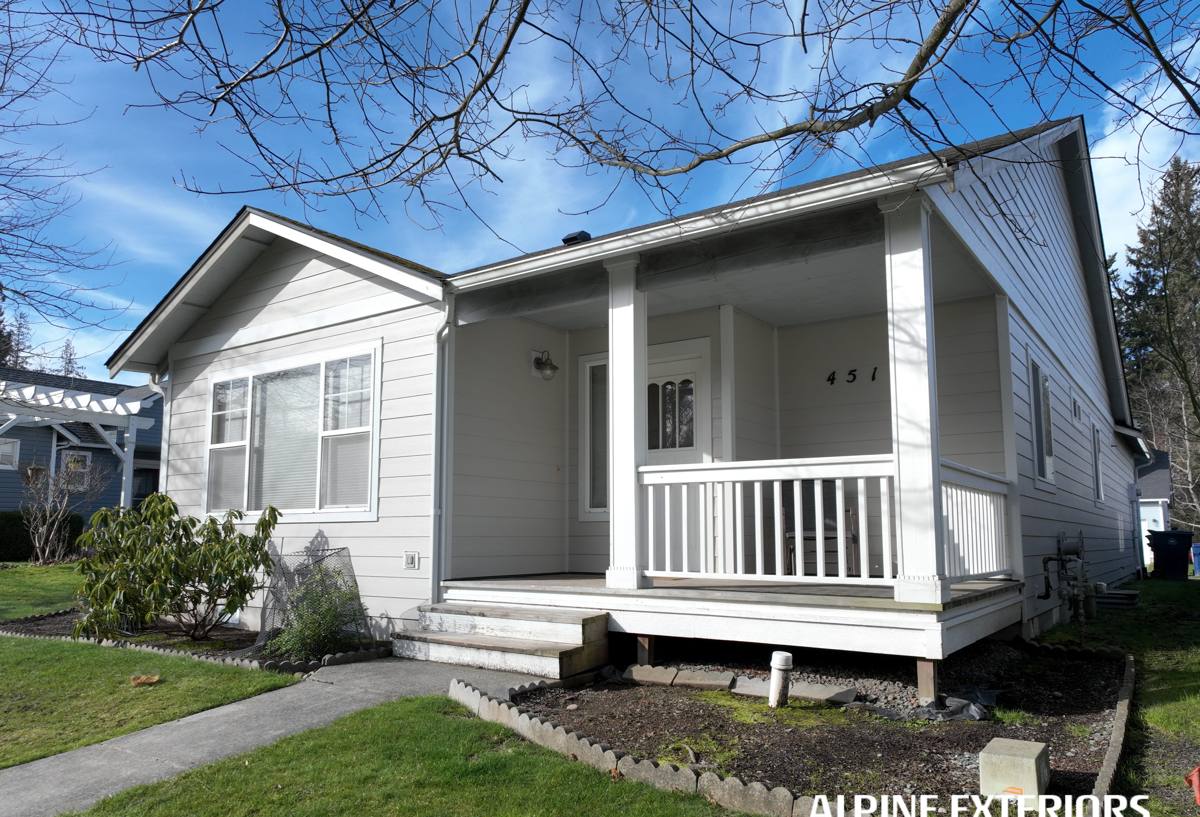
What Bow's Climate Actually Does to Siding
Every siding material reacts differently to the combination of salt air, sustained moisture, and moss growth common to this part of Whatcom and Skagit County. A few specific mechanisms matter more here than in drier inland climates:
- Salt air accelerates fastener and trim corrosion. Standard fasteners and unprotected metal flashing corrode faster near open water, which can lead to streaking, loosened boards, and early paint failure around joints.
- Driving rain finds gaps fast. Wind-driven rain off the bay doesn't just fall — it pushes horizontally into laps, seams, and butt joints, which is why caulking and flashing details matter more here than in sheltered inland lots.
- Moss and algae thrive in shaded, damp siding. Homes with tree cover or north-facing walls that stay damp for days at a time are prone to moss and mildew growth that traps moisture against the surface and stains paint finishes.
- Freeze-thaw cycling, while milder here than in the mountains, still stresses any siding material that absorbs water. Materials that swell and contract with moisture content are more prone to cracking and joint failure over time.
None of this means siding fails quickly here — it means the margin for installation error is smaller. A house with good materials and a sloppy installation will show problems years before a house with the same materials installed to spec.
Why We Install Only James Hardie Fiber Cement
We standardized on James Hardie fiber cement siding for every project we take on, including here in the Bow area, and we don't install vinyl, LP SmartSide, Cemplank, Allura, primed spruce, or cedar. That's a deliberate call, not a sales position:
- Non-combustible core. Fiber cement doesn't burn, melt, or warp from radiant heat the way vinyl can — a meaningful consideration anywhere summers bring dry stretches and wildfire smoke to the region.
- Engineered for wet climates. James Hardie's HZ5 product line is formulated specifically for the Pacific Northwest's moisture exposure, not a generic national product.
- Factory-applied ColorPlus finish. The finish is baked on under controlled conditions, resists fading and chipping far better than field-applied paint, and holds up to salt air exposure more consistently than site-painted wood or primed boards that still need a paint schedule.
- Dimensionally stable. Fiber cement doesn't expand and contract with moisture the way wood or some composite products do, which means fewer open joints and less caulk failure over time in a climate that never fully dries out.
- Strong transferable warranty backed by a large manufacturer — worth more to a homeowner than a warranty from a smaller regional producer, especially if the home changes hands.
We're not going to tell you every other product is junk — cedar has real character, vinyl is inexpensive, and engineered wood has improved a lot. But we've made a professional call that fiber cement, installed correctly, gives Bow-area homeowners the best long-term performance against salt air, rain, and moss without a repainting or recaulking treadmill. That's the product we stand behind and the only one we put our crew's name on.
What Correct Installation Actually Involves
Siding installation is mostly invisible work — the parts that determine whether a house stays dry for 30 years are underneath the boards, not on top of them. For a Bow-area home, we pay particular attention to:
Weather-Resistive Barrier and Drainage Plane
A correctly lapped weather-resistive barrier behind the siding is the house's real first line of defense — the siding itself is the second. We install a proper water-resistive barrier with correctly shingled laps so any moisture that does get past the cladding drains down and out rather than pooling behind it. In a climate with this much sustained rain, a rainscreen gap (a small air space between the barrier and the siding) is often worth the extra step, since it lets any incidental moisture dry out instead of sitting against the back of the board.
Flashing at Every Penetration
Windows, doors, hose bibs, light fixtures, and vents are the most common places siding fails — not because of the siding material, but because of missing or incorrect flashing. Every penetration gets flashed and integrated with the weather-resistive barrier before a single piece of siding goes up.
Fastener Selection and Placement
Given the salt exposure common near Samish Bay, fastener choice matters more here than inland. We follow James Hardie's fastening specifications for corrosion-resistant fasteners, correct penetration depth, and proper placement — under-driven or over-driven nails are one of the most common causes of premature siding failure, and it's an easy detail to get wrong if a crew isn't used to fiber cement specifically.
Joint Treatment and Caulking
Butt joints, corners, and trim transitions are where driving rain tests an installation the hardest. We follow manufacturer-specified gaps, backer rod, and sealant details rather than relying on caulk alone to bridge gaps that were cut too wide or too tight.
Starter Strips, Clearances, and Grade Transitions
Correct starter strip installation and maintaining proper clearance from grade, roofing, and decking keeps the bottom edge of the siding — the area most exposed to splash-back and standing moisture — performing the way it's designed to.
| Installation Detail | Why It Matters in Bow's Climate |
|---|---|
| Weather-resistive barrier with rainscreen gap | Lets incidental moisture from wind-driven rain dry out instead of sitting against the siding |
| Corrosion-resistant fasteners, correct depth | Salt air accelerates corrosion on standard fasteners near the bay |
| Flashing at every penetration | Prevents the most common source of hidden water intrusion behind siding |
| Manufacturer-spec joint gaps and sealant | Driving rain finds and exploits undersized or oversized joints first |
| Proper grade and roofline clearance | Reduces splash-back moisture and prevents moss-favoring damp zones at the base |
How Our Process Works, Start to Finish
Homeowners generally want to know two things upfront: what happens on their property, and how long it takes. Here's the shape of a typical siding installation project:
- On-site assessment. We walk the exterior, check for existing moisture damage, rot, or failed flashing under the current siding, and measure for material takeoff.
- Written estimate. A clear scope covering removal (if applicable), weather-resistive barrier, flashing details, James Hardie product line and color selection, and trim work.
- Existing siding removal and sheathing inspection. This is the point where hidden problems — soft sheathing, old moisture damage, prior flashing shortcuts — get found and addressed before anything new goes up. Covering over an existing problem is one of the most common ways siding projects fail early.
- Weather-resistive barrier and flashing installation. The part of the job that determines long-term performance, done before any visible siding goes up.
- James Hardie siding installation. Installed to manufacturer fastening and clearance specifications, with attention to joint and corner detailing throughout.
- Trim, caulking, and final detailing. Consistent reveals, tight corners, and sealed transitions at windows, doors, and rooflines.
- Final walkthrough. We go over the finished work with the homeowner and address any questions before calling the job complete.
Project timelines vary with home size, current siding condition, and weather windows — coastal projects sometimes need to work around rain delays more than inland jobs, which is one more reason experience in this specific area helps with realistic scheduling.
Why a Local Bow-Area Crew Matters
Siding crews that mostly work drier, inland areas can install a technically correct assembly on paper and still miss details that matter specifically near open water. A crew that regularly works the Bow and greater Fairhaven area brings a few practical advantages:
- Familiarity with salt-air-specific fastener and flashing choices rather than defaulting to generic inland specs.
- Realistic scheduling around this area's weather patterns instead of underestimating rain delay windows.
- Recognition of moss and moisture patterns specific to shaded, north-facing, or tree-covered lots common in this part of the county.
- Established relationships with local suppliers for James Hardie products, which keeps material lead times and color availability predictable.
Signs Your Current Siding Is Already Behind Schedule
Not every home needs full replacement immediately, but certain signs indicate the existing siding — regardless of material — is no longer doing its job:
- Visible cracking, buckling, or gaps at seams and corners
- Soft or spongy spots when pressed, especially near the bottom courses or window sills
- Persistent moss or dark staining that returns shortly after cleaning
- Peeling or bubbling paint that keeps recurring in the same spots
- Rising energy bills that suggest air and moisture infiltration behind the siding
- Visible daylight or drafts at trim and corner boards
Any one of these on its own isn't necessarily an emergency, but a combination of two or more is usually a sign the assembly behind the siding — not just the surface — needs a real look.
Cost Factors Worth Understanding Upfront
We don't publish blanket per-square-foot prices because the real cost drivers vary by house, and giving a number without seeing the home does homeowners a disservice. What actually moves the estimate:
| Factor | Why It Affects Cost |
|---|---|
| Existing siding removal and disposal | Tear-off adds labor and disposal cost versus new construction |
| Sheathing or framing repair needs | Hidden moisture damage found during removal must be repaired before new siding goes on |
| Home size and wall complexity | Cutouts, dormers, and multiple stories add labor time |
| James Hardie product line and finish selection | Lap, shingle, and panel profiles carry different material costs |
| Trim and detail work scope | Extensive corner, window, and fascia trim adds time beyond field siding |
An accurate number only comes from an on-site look — anything else is a guess.
Get an Honest Look at Your Home
If you're weighing a siding project for a home in the Bow area, we're glad to come take a look, walk the exterior with you, and give you a straight answer about what condition your current siding is in and what it would take to do it right with James Hardie fiber cement. The estimate is free, and there's no pressure attached to it — just fill out the form below to get started.