 Fairhaven Siding
 Board & Batten Siding for Puget Homes
Board and batten is one of the most requested looks in the Puget area of Fairhaven, and for good reason. The vertical lines read as clean, modern, and distinctly Pacific Northwest, and the style works equally well on a craftsman remodel or a newer build. But board and batten is also one of the least forgiving siding profiles when it's installed with the wrong material or the wrong technique. The battens create dozens of extra seams, fastener points, and shadow lines compared to standard lap siding, and every one of those details is a place where moisture can either shed cleanly off the wall or find its way in. In a climate like Whatcom County's, that difference shows up fast.
This page covers what board and batten siding needs to hold up specifically in Puget, what a correct installation actually involves, and how we approach the job from first assessment to final walkthrough.
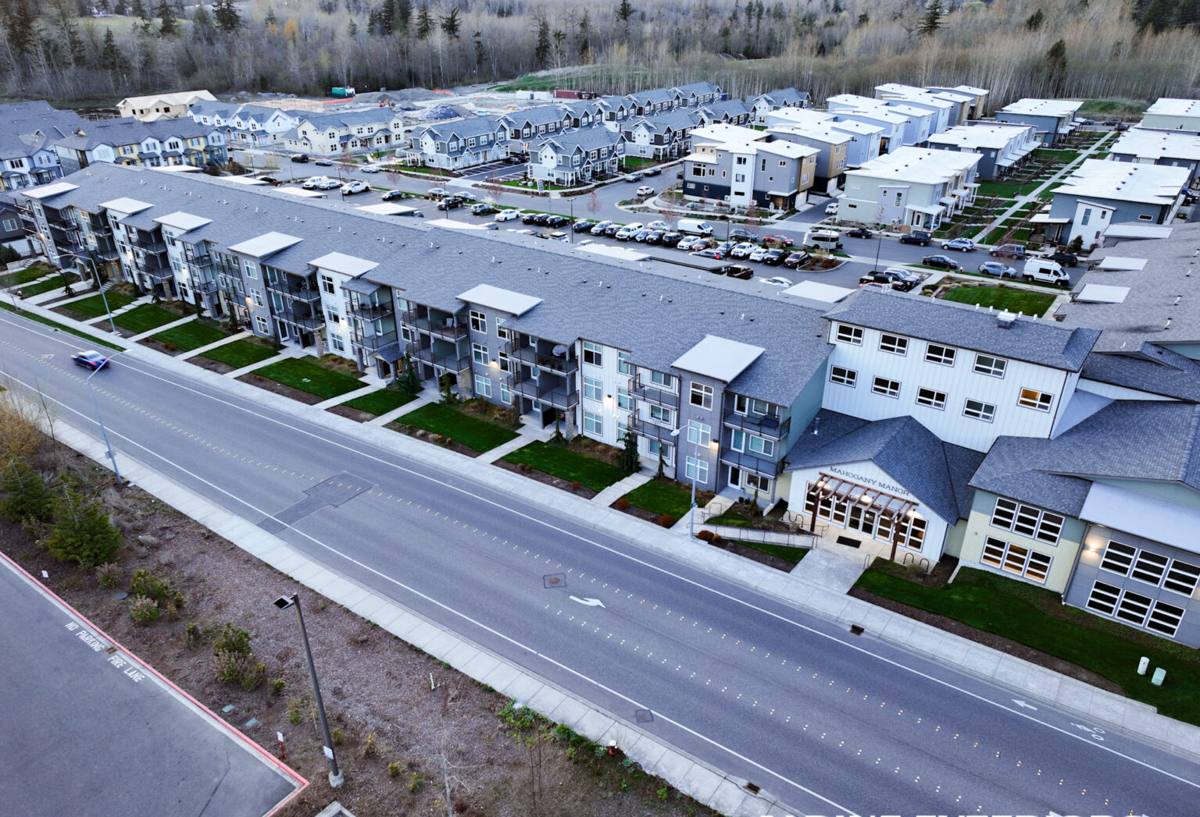
What Puget's Climate Demands From Board & Batten Siding
Homes in Puget sit close enough to Bellingham Bay and the broader Puget Sound system to catch salt-laden air off the water, and that air is corrosive to unprotected fasteners, cheap trim, and any siding product that relies on paint film alone for protection. Add in the region's long stretch of driving rain — wind-blown rain that hits walls at an angle rather than falling straight down — and you have a siding assignment that punishes weak seams and poor flashing details.
Then there's moss. Whatcom County's shaded lots, high humidity, and mild temperatures create a moss season that can run most of the year on north-facing and tree-shaded walls. Moss and algae don't just look bad; they hold moisture against the siding surface far longer than an open, sun-exposed wall would ever see, which accelerates rot in wood-based products and stains anything without a genuinely durable finish.
The three things board and batten siding has to survive here
- Sustained moisture contact from driving rain and long rainy stretches without full drying time between storms
- Salt air exposure that corrodes exposed metal fasteners and degrades weaker paint systems over time
- Shade and moss buildup that keeps panel and batten surfaces damp longer than homes further inland
What a Correct Board & Batten Installation Involves
Board and batten looks simple from the curb — vertical boards with narrow battens covering the seams — but the assembly underneath is where the job succeeds or fails. A correct installation is not just nailing boards to the wall; it's a layered water-management system with the siding as the visible top layer.
Key installation details
- Drainage plane and rainscreen gap: A weather-resistive barrier plus a ventilated air gap behind the siding lets any moisture that gets past the surface drain and dry out instead of sitting against the sheathing.
- Proper batten spacing and fastening: Battens need to be fastened into framing or a solid nailing base, not just through the field of the underlying board, and spaced to allow for the material's expansion and contraction.
- Flashing at every horizontal transition: Window heads, belly bands, and any horizontal trim need step or drip-cap flashing so water is directed out and away rather than behind the siding.
- Corrosion-resistant fasteners: In a salt-air environment, stainless steel or hot-dip galvanized fasteners rated for the specific siding manufacturer's requirements are not optional.
- Caulking limited to the right joints: Sealant belongs at specific transitions, not as a substitute for proper flashing and lap details — over-caulking traps moisture instead of shedding it.
Skip any one of these and the wall might look right for a year or two before problems start showing at the battens, corners, or window trim — exactly the spots that are hardest and most expensive to fix after the fact.
Why Material Choice Matters Even More With This Profile
Because board and batten has more seams and more exposed edges than lap siding, the material itself carries more of the burden. We install James Hardie fiber cement exclusively, and on a board and batten project the reasoning is even more direct than usual.
| Material | How it holds up in Puget's climate | Why it affects a board & batten job specifically |
|---|---|---|
| James Hardie fiber cement | Non-combustible, engineered for Pacific Northwest moisture (HZ5 product line), factory ColorPlus finish resists fading and moisture staining | Dimensionally stable at the many cut edges and batten seams this profile requires; finish doesn't rely on field-applied paint holding up at every joint |
| Primed wood or cedar | Attractive but absorbs moisture readily; needs regular repainting and sealing, especially at end grain | Board and batten multiplies the number of exposed end cuts and seams — exactly where wood is most vulnerable to rot |
| Vinyl | Low maintenance but can warp, fade, and doesn't hold a genuine board-and-batten shadow line as well | Thin profile and expansion behavior make crisp, tight seams harder to maintain over time |
| LP SmartSide (engineered wood) | Improved over older wood products but still wood-based, meaning it's more moisture-sensitive than fiber cement over the long run | More seams and cut edges mean more places where moisture-sensitive engineered wood is at risk if any detail is imperfect |
We're not saying every one of those products fails — plenty of them get installed correctly and perform fine for years. What we're saying is that we've standardized on James Hardie because it gives us the most consistent, lowest-maintenance result on a profile that has less margin for error than standard lap siding, in a climate that stresses every seam it's given.
Our Process for a Puget Board & Batten Project
1. On-site assessment
We walk the exterior with you, check the current siding and sheathing condition, look at drainage around the foundation, and identify shade patterns that contribute to moss buildup on specific walls.
2. Tear-off and sheathing check
Old siding comes off and we inspect the sheathing underneath for rot or water damage before anything new goes up. This is the point where hidden problems get caught — covering them up is how small issues become expensive ones.
3. Weather-resistive barrier and rainscreen
We install a proper drainage plane and ventilated gap behind the siding so the wall assembly can dry out, which matters more in a climate with Whatcom County's rainfall totals than in drier regions.
4. Board and batten installation
James Hardie panels or boards go up first, followed by the battens, fastened per manufacturer specification with corrosion-resistant fasteners and correct spacing at every seam.
5. Flashing, trim, and finish details
Window and door flashing, corner details, and any belly bands are finished before final inspection — these are the details that determine how the wall performs in year five and year fifteen, not just on installation day.
6. Final walkthrough
We go over the completed job with you, confirm everything matches what was scoped, and explain basic care specific to your home's exposure.
What Affects the Cost of a Board & Batten Project
| Factor | Why it matters |
|---|---|
| Wall complexity | More corners, window openings, and trim transitions mean more cuts, more flashing, and more labor per square foot |
| Sheathing condition | Rot found during tear-off adds repair cost before new siding can go on — this is common on older Puget homes with a history of moisture exposure |
| Board width and reveal | Wider battens or a specific spacing pattern changes material quantities and installation time |
| Existing siding removal | Full tear-off versus siding over an existing layer (not something we recommend, but it affects scope) changes labor significantly |
| Access and site conditions | Sloped lots, tree cover, and tight setbacks common in parts of Puget can add scaffolding or staging time |
We provide a written, itemized estimate after the on-site assessment rather than a ballpark number over the phone — board and batten costs vary too much project to project to be honest about otherwise.
Why a Crew That Already Works in Puget Matters
Siding performance is local. A crew that's worked walls in Puget and elsewhere around Fairhaven already knows which orientations get hit hardest by driving rain, which lots hold onto moss longer because of tree cover, and how salt air off the water affects fastener and trim choices over a 20- or 30-year timeframe — not just what looks right on installation day. That local track record shapes decisions on the job that a crew unfamiliar with this specific microclimate might not think to make, from flashing details at window heads to which side of the house needs extra attention during a rainscreen install.
Signs Your Current Siding May Need Attention
- Moss or algae buildup that returns quickly after cleaning, especially on shaded or north-facing walls
- Soft spots, staining, or bubbling paint near seams and board edges
- Visible gaps or separation at batten joints
- Rust streaks below fastener heads
- Increased drafts or noticeably higher heating costs without another explanation
- Warping or cupping on individual boards
Maintaining Board & Batten Siding in a Wet, Shaded Climate
James Hardie's factory-applied ColorPlus finish reduces the maintenance burden considerably compared to field-painted materials, but no siding in this region is entirely maintenance-free. A periodic gentle wash to keep moss and organic growth from taking hold, an annual look at caulking around windows and trim, and prompt attention to any gutter or downspout issues that could be sending extra water onto a wall will keep a correctly installed board and batten system performing for decades.
If you're planning a board and batten project in Puget or elsewhere in the Fairhaven area, we're happy to walk your property, look at what your walls are actually dealing with, and put together a straightforward, no-pressure estimate. There's a form below to get started.