 Fairhaven Siding
 Lummi Island's Climate Is Harder on Siding Than Most Homeowners Realize
Lummi Island sits out in the salt water of Whatcom County, which means every exterior surface on the island deals with a combination most inland Fairhaven neighborhoods never see at the same intensity: salt-laden air off the water, driving rain that comes in sideways during winter storms, and a moss season that can stretch for months on shaded north- and west-facing walls. None of these things by themselves is unusual for the Pacific Northwest. Together, on an island with constant marine exposure, they add up to siding wear that shows up faster than the manufacturer's brochure photos suggest.
We install siding across the Fairhaven area, and Lummi Island jobs get treated differently from the start. The product has to be right, the installation details have to be tighter than the minimum code requirement, and the maintenance conversation with the homeowner has to be honest about what this specific environment does to a wall over ten, twenty, and thirty years.
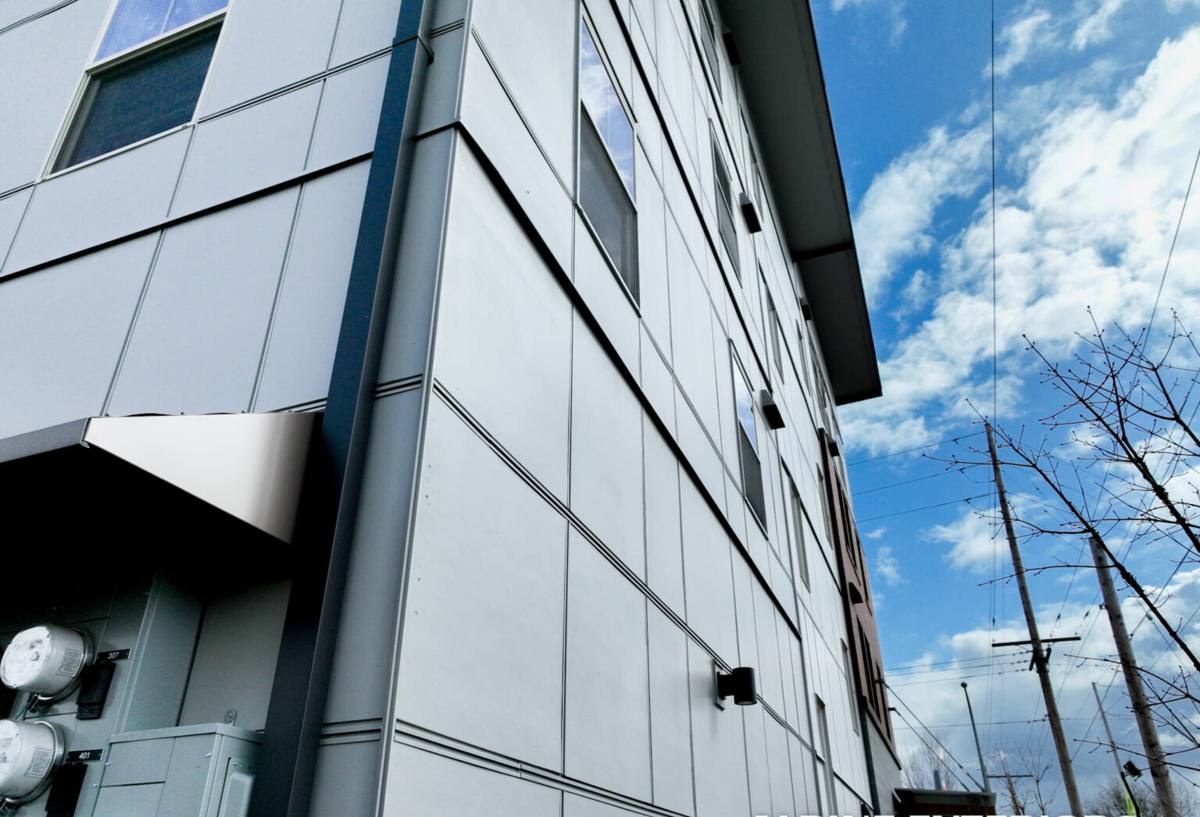
What Salt Air, Rain, and Moss Actually Do to a Wall
It helps to understand the failure modes before talking about the fix.
Salt Air
Airborne salt is corrosive to exposed metal fasteners, flashing, and hardware, and it accelerates the breakdown of lower-grade paint finishes. Siding that isn't factory-finished tends to chalk, fade, and lose adhesion faster in a marine environment than the same product would inland. Salt exposure doesn't just fade color — it changes how well a coating bonds to the substrate underneath it over time.
Driving, Wind-Driven Rain
Water intrusion is the number one cause of siding and sheathing failure in this region, and wind-driven rain is worse than a straight downpour because it gets pushed sideways and upward under laps, around trim, and into any gap that wasn't detailed correctly. On an exposed island lot, this isn't an occasional storm event — it's a recurring seasonal condition the wall assembly has to be built to handle, not just tolerate.
Moss and Sustained Moisture
Shaded, north-facing walls near mature trees or close to the water hold moisture longer after a rain event. That prolonged dampness is exactly what moss and algae need to establish. Beyond the cosmetic issue, sustained surface moisture is hard on any siding material that can absorb water into its core, because trapped moisture behind or within the panel is what eventually leads to swelling, delamination, or rot at seams and butt joints.
Why We Install Only James Hardie Fiber Cement Here
We don't offer LP SmartSide, vinyl, Cemplank, Allura, primed spruce, or cedar. That's not a marketing position — it's a standard we hold on every job, and it matters even more on an island exposure like this one.
Fiber cement is a non-combustible, cement-based product that doesn't absorb and swell the way wood-based or engineered-wood siding can, and it doesn't degrade under UV and salt exposure the way vinyl does over a long service life. James Hardie specifically engineers regional product lines — its HZ5 formulation is built for climates with more moisture exposure — and backs its ColorPlus factory finish with a baked-on, multi-coat process that's more consistent and more resistant to fading and peeling than field-applied paint. For a wall that's going to sit in salt air and wind-driven rain for decades, that combination is the reason we standardized on it rather than the alternatives.
We're not going to claim other products simply fail — plenty of siding materials perform fine in the right setting. What we will say plainly: in a marine, moss-prone microclimate like Lummi Island's, the trade-offs of wood-based and vinyl products (moisture absorption, field-paint maintenance cycles, UV and salt degradation) are trade-offs we're not willing to put our name behind. Hardie's system is what we install instead.
Matching the Right Hardie Product to This Site
Not every Hardie product or accessory is interchangeable, and the right combination depends on the home's exposure, architectural style, and where it sits relative to prevailing wind and rain.
| Product | Best Use on Island Homes | Why It Fits |
|---|---|---|
| HardiePlank lap siding | Primary field siding on most elevations | Traditional lap profile sheds water efficiently when lapped and flashed correctly |
| HardiePanel vertical siding | Accent walls, gable ends, modern facades | Fewer horizontal laps means fewer water-entry points on high-exposure walls |
| HardieTrim boards | Corners, window and door casing, fascia | Dimensionally stable trim that won't cup or split under repeated wet-dry cycles |
| ColorPlus factory finish | All exposed siding and trim | Baked-on finish holds color and adhesion far longer than field-applied paint in salt air |
On the most exposed, water-facing sides of an island home, we'll often recommend tighter flashing details and a wider utilization of trim board sealing than we would on a sheltered inland lot. The product selection matters, but it only performs as well as the installation underneath it.
What a Correct Installation Involves in This Environment
James Hardie's own installation instructions are detailed, and skipping steps is exactly how a good product ends up performing poorly. On an exposed marine site, we hold to these details without exception.
Drainage Plane and Rainscreen Gap
A weather-resistive barrier goes on the sheathing first, and on exposed elevations we build in a drainage gap behind the siding so any moisture that does get past the cladding has somewhere to go instead of sitting against the wall assembly. This is one of the biggest differences between a wall built for a sheltered lot and one built for a site that takes driving rain directly.
Flashing at Every Penetration
Windows, doors, hose bibs, vents, and any other wall penetration get proper head, jamb, and sill flashing, lapped in the correct shingle-style order so water is always directed outward and down, never trapped behind the cladding.
Fastener Placement and Corrosion Resistance
Fasteners are placed per Hardie's nailing pattern — not overdriven, not underdriven — and we use corrosion-resistant fasteners appropriate for a marine environment. Salt air is hard on standard hardware, and the wrong fastener choice shows up as staining and loosening years before it should.
Clearances and Gaps
Hardie specifies minimum clearances from grade, roofing, decks, and other abutting surfaces, along with gap widths at butt joints and trim intersections that then get sealed with an appropriate sealant. These gaps aren't cosmetic — they're what lets the assembly move slightly and drain without cracking or trapping water.
Caulking and Sealant Selection
Not every caulk holds up to constant UV and salt exposure. We use sealants rated for exterior, high-moisture use at every joint that calls for one, and we don't rely on caulk to compensate for a flashing detail that should have handled the water instead.
Our Process for a Lummi Island Project
Every job starts with a site-specific look at exposure, not a generic estimate.
1. On-Site Assessment
We walk the exterior, note which elevations take the most direct wind and rain, check existing moisture damage at trim and penetrations, and look at how much shade and tree cover contribute to moss growth on specific walls.
2. Tear-Off and Substrate Check
Old siding comes off and we inspect the sheathing underneath for rot or existing moisture damage before anything new goes up. Any compromised sheathing gets repaired — new siding over a damaged substrate just hides a problem, it doesn't fix it.
3. Weather Barrier and Flashing Install
House wrap, flashing, and drainage details go in first, with extra attention on water-facing elevations.
4. Hardie Installation to Spec
Siding, trim, and accessories go up following Hardie's fastening, clearance, and sealing requirements — the details covered above, applied consistently across the whole exterior, not just the visible parts.
5. Final Walkthrough
We review the completed exterior with the homeowner, point out anything they should keep an eye on given their specific exposure, and go over basic care.
What Drives the Cost of This Job
Every home is different, but these are the factors that most often move a Lummi Island siding project's price and timeline.
| Factor | Why It Matters |
|---|---|
| Wall exposure and elevation count | Water-facing walls need more flashing and drainage detail work than sheltered ones |
| Existing sheathing condition | Rot or moisture damage found during tear-off adds repair scope before new siding goes up |
| Siding profile (lap vs. panel vs. mixed) | Vertical and mixed-profile facades take more trim and detail labor than straight lap siding |
| Access and logistics | Ferry-dependent material delivery and site access on the island affect scheduling and staging |
| Trim and color complexity | Multiple ColorPlus colors and extensive trim work add material and labor time |
We'll walk through these specifics during the on-site estimate rather than quoting a number sight unseen — exposure and substrate condition make too much difference to guess at from a photo.
Living With Hardie Siding in a Salt-Air, Moss-Prone Climate
Even the right product benefits from a little basic upkeep. Here's what we tell homeowners after a Lummi Island install:
- Rinse salt residue and grime off the siding once or twice a year with a garden hose and soft brush — avoid high-pressure washing directly at seams and joints
- Keep an eye on shaded, north-facing walls for early moss or algae growth and treat it early rather than letting it establish
- Trim back vegetation and tree limbs that keep a wall section shaded and damp longer than the rest of the house
- Inspect caulking at trim joints and penetrations annually, since sealant is the one component that wears faster than the siding itself
- Watch gutters and downspouts for clogs — overflow running down a wall face concentrates moisture exactly where you don't want it
- Note any hairline cracking, staining, or fastener discoloration early and have it looked at before it becomes a bigger repair
None of this is heavy maintenance — it's the difference between a wall that ages evenly and one that develops isolated problem spots years before it should.
Why It Matters That We Already Work on Lummi Island
Lummi Island is only reachable by a short ferry crossing, which changes how a siding project gets planned and staged compared to a job in central Fairhaven or elsewhere on the mainland. Material deliveries, crew scheduling, and daily logistics all have to account for ferry timing, and a crew that hasn't worked the island before can lose real time relearning those constraints on your job.
Beyond logistics, familiarity with the island's specific wind exposure, tree cover patterns, and which elevations tend to take the worst of the weather lets us plan the flashing and drainage details correctly from the estimate stage, not as a surprise once tear-off starts. We also work within Whatcom County's permitting requirements as a matter of course, so that step doesn't become a delay partway through the project.
A crew that treats every job the same regardless of site conditions will build a technically code-compliant wall. A crew that's spent time on Lummi Island specifically builds a wall that's ready for what this particular stretch of water and weather actually does to a house.
Get a Straight Answer for Your Home
If you're weighing a siding replacement on Lummi Island, we're glad to come take a look, walk the exposure with you, and give you a straightforward, no-pressure estimate based on what your specific home actually needs — no generic pricing, no upsell on products we don't stand behind. Reach out through the form below to get started.