 Fairhaven Siding
 Siding Installation in Ferndale: Why the Details Matter More Here
Ferndale sits close enough to the water and the open Nooksack lowlands that its homes take a harder hit from the weather than a lot of inland Washington towns. Salt-tinged marine air moves through steadily, rain rarely falls straight down, and shaded or north-facing walls can carry moss for most of the year. On a dry, calm building site those conditions barely register during installation. On a real Ferndale job site, they change how the work has to be done.
A siding installation that looks the same as one done in a drier climate can perform very differently once it's actually up against a Ferndale winter. The material matters, but so does every detail behind it: how the wall was prepped, how the flashing was lapped, how tight the fastening pattern is, and how much clearance was left at grade. Get those details wrong and a good product still fails early. Get them right and even a demanding climate like this one stops being a threat to the wall.
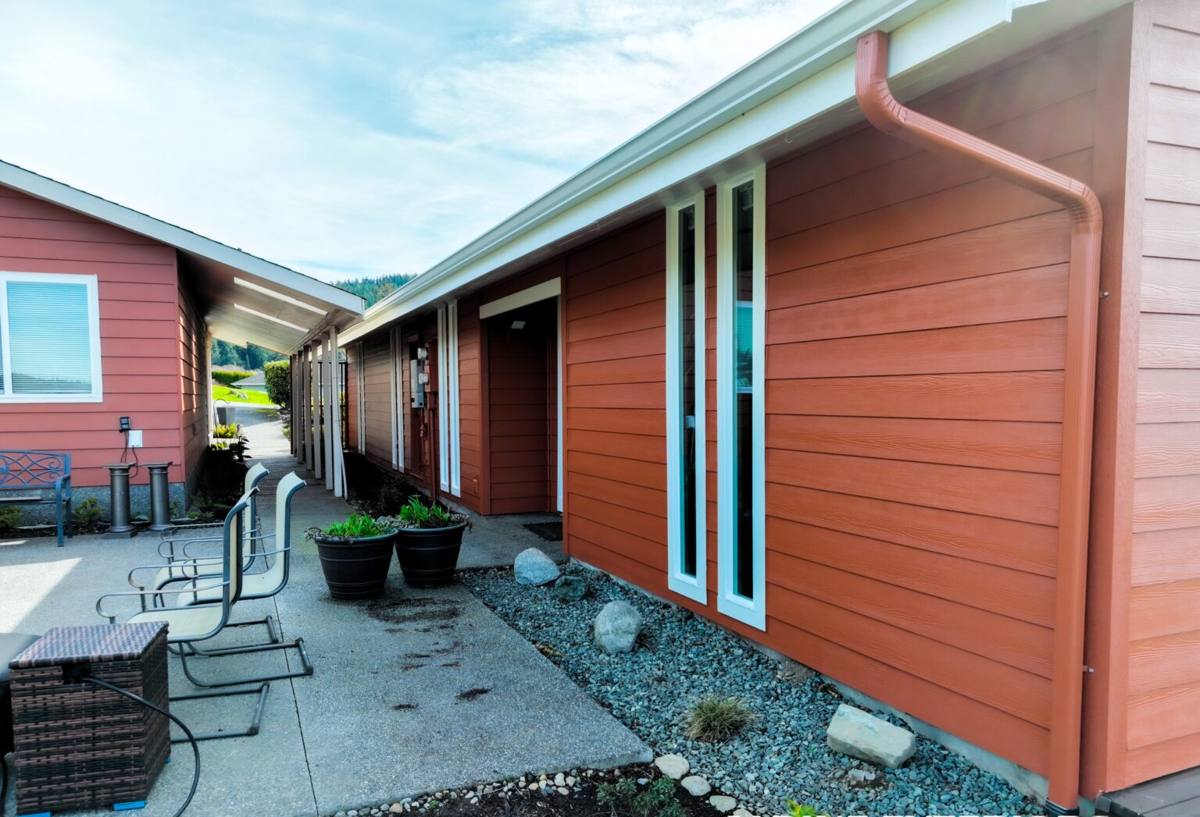
What a Correct Siding Installation Actually Involves
The Weather-Resistive Barrier and Flashing
Siding is not what keeps water out of a wall — it's the first line of defense, working with a weather-resistive barrier and flashing system underneath it. Every seam in that barrier needs to be lapped correctly, every penetration (hose bibs, vents, electrical) needs to be flashed and sealed, and window and door openings need proper head flashing so water sheds outward instead of tracking behind the trim. In a climate with wind-driven rain, a missed lap or a reversed flashing detail is exactly the kind of mistake that stays invisible until a wall starts showing rot two or three winters later.
Fastening to Manufacturer Spec
James Hardie publishes specific fastener types, spacing, and embedment requirements for each product line and climate zone, and those specs exist for a reason. Under-driven or over-driven nails, the wrong fastener material, or spacing that's wider than spec can all lead to panel movement, cracking, or premature finish failure. It's easy to install fiber cement siding that looks correct on install day but isn't fastened to hold up over a fifteen- or twenty-year timeline in a wet, wind-exposed location.
Clearance and Ground Contact
Siding installed too close to grade, a deck surface, or a roofline is one of the most common causes of moisture damage we see, and it's almost entirely preventable. Manufacturer guidelines call for specific minimum clearances between the bottom edge of the siding and grade, walkways, and roof surfaces so that splash-back, standing water, and trapped moisture don't have a path into the wall assembly. Skipping this during installation is a quiet mistake — nothing looks wrong at first, but it sets up a slow moisture problem in exactly the parts of a Ferndale property that already stay damp the longest.
Joint and Trim Detailing
Butt joints, corner boards, and trim-to-siding transitions are where water intrusion usually starts if they're not detailed correctly. Proper installation means back-priming and caulking joints per manufacturer instructions, using the right gap tolerances for expansion, and making sure trim details shed water rather than collect it. These are small, unglamorous steps that take extra time on install day and are also the first things to fail if a crew rushes through them.
Why We Install James Hardie Fiber Cement in Ferndale
We install James Hardie exclusively — not vinyl, not LP SmartSide, not primed spruce or cedar — because we've seen how those alternatives age in this specific climate, and fiber cement holds up better against sustained moisture, salt exposure, and the freeze-thaw cycling that shows up in a Whatcom County winter. Hardie's HZ5 product line is engineered specifically for regions with heavy moisture exposure, which fits Ferndale's conditions better than a generic, one-size-fits-all siding formulation built for a warmer, drier market.
The factory-applied ColorPlus finish is also a real factor here, not a marketing line. A finish that's baked on in a controlled factory environment holds its color and resists cracking and peeling far longer than a field-applied paint job exposed to this region's rain and UV cycle, which matters on a material that's expected to stay on the wall for decades.
Our Installation Process
Assessment and Substrate Check
Every job starts with a walk-around of the home to check the existing siding, sheathing, and any signs of prior moisture damage. This is where we catch problems that need to be addressed before new siding goes up — soft sheathing, failed flashing, or rot around windows and doors doesn't go away just because it's covered with a new wall material.
Tear-Off and Prep
Old siding comes off, the substrate gets inspected and repaired as needed, and the weather-resistive barrier and flashing system go in fresh. This is the stage that determines how the finished job performs over time, and it's also the stage that's easiest to shortcut if a crew is trying to move fast. We don't cover a compromised wall assembly with new siding and call it done.
Installation
Panels and trim go up to James Hardie's published fastening, spacing, and clearance specifications, with attention to how each wall orientation on the property is actually exposed to wind and rain. A south or west-facing wall on an open Ferndale lot doesn't need identical detailing to a sheltered, shaded wall, and we adjust accordingly rather than treating every elevation the same way.
Final Detailing and Cleanup
Joints get sealed, trim gets finished, and the site gets cleaned up before we walk the job with the homeowner. We'd rather answer questions on-site than leave a homeowner guessing about what was done and why.
Installation Mistakes That Cause Problems in This Climate
- Siding installed with too little clearance from grade, decks, or roof lines, trapping moisture at the base of the wall
- Weather-resistive barrier seams lapped incorrectly, letting wind-driven rain track behind the siding instead of shedding out
- Fasteners driven too deep, too shallow, or spaced wider than manufacturer spec, weakening the panel's hold over time
- Butt joints and trim transitions left uncaulked or under-caulked, giving water a direct path into the wall
- Skipping substrate repair and installing new siding directly over existing rot or moisture damage
None of these mistakes are visible on the day the job wraps up. They show up a year or two later as staining, soft spots, or interior moisture problems, by which point the fix is a lot more involved than it would have been to just do it correctly the first time.
Cost Factors for a Ferndale Siding Installation
Every property is different, so we price jobs after an on-site assessment rather than off a generic number, but the factors below are what typically move an estimate up or down.
| Factor | Why It Affects Cost |
|---|---|
| Tear-off vs. overlay | Full removal of old siding and substrate repair takes more labor than installing over sound existing sheathing |
| Wall complexity | Homes with lots of corners, dormers, or trim detail take longer to fit and finish than simple rectangular walls |
| Substrate condition | Rot, soft sheathing, or old moisture damage found during tear-off adds repair scope before new siding can go up |
| Siding profile and accessories | Lap width, trim style, and accent details like board and batten sections affect material and labor |
| Exposure and elevation | Walls with heavier wind and rain exposure may need extra flashing attention and detailing time |
| Access and site conditions | Tight lots, multi-story walls, or landscaping obstacles can add setup and staging time |
Why a Crew That Already Works Ferndale Matters
A crew that installs siding across Whatcom County regularly, rather than occasionally, has already seen how salt air, driving rain, and moss behave on real houses through a full winter, not just how a product is described on a spec sheet. That shows up in practical decisions on install day: which wall orientations need extra flashing attention, how much clearance really makes sense on a given lot, and which trim details are worth the extra time so a homeowner isn't dealing with a callback two winters later. Ferndale's mix of coastal exposure and open, lower-lying terrain isn't identical to every town in the county, and a crew with local installation experience accounts for that instead of running the same generic playbook everywhere.
Siding Installation Day Checklist
If you're planning a siding installation in Ferndale, these are worth confirming with any contractor before work begins:
- Written scope that specifies tear-off vs. overlay, and what happens if substrate damage is found
- Confirmation of which weather-resistive barrier and flashing details will be used
- Manufacturer-specified fastener type, spacing, and clearance requirements in the proposal
- Washington contractor license and current insurance verified before work starts
- A clear plan for site cleanup and daily protection of the property during the job
- A walkthrough at completion so you can see the finished detailing before final payment
If you're planning a siding installation in Ferndale and want an honest look at what your home actually needs, we're glad to take a look. Reach out using the form below to schedule a free, no-pressure estimate.