 Fairhaven Siding
 New-Construction Windows for Edgemoor Homes
Edgemoor sits close enough to Bellingham Bay that salt-laden air, wind-driven rain, and a long wet season shape almost every exterior decision on a new build. When a house is framed and ready for windows, the choices made in the next few weeks — flashing sequence, window type, sealant selection, siding-to-window transitions — determine whether that home stays dry and looks good for the next 30 years or starts showing rot and staining within five. We install new-construction windows on homes throughout the Fairhaven area and in Whatcom County generally, and Edgemoor's mix of wooded lots, bluff-adjacent exposure, and older-growth tree cover brings its own set of considerations we plan for from the start.
This page covers what a correct new-construction window install actually involves here, why it's different from a retrofit or replacement job, and what to expect if you're building or having a builder frame a home in Edgemoor.
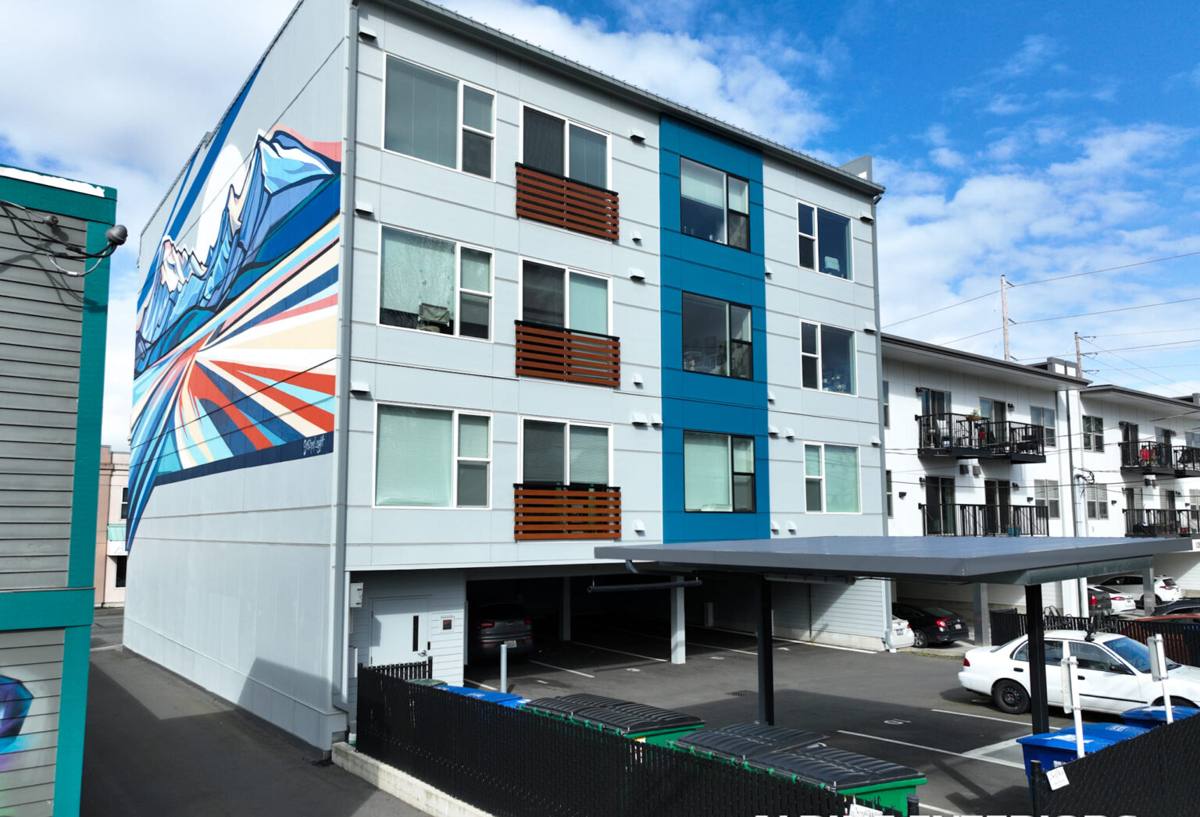
Why Edgemoor's Climate Changes the Window Install
Three things drive our approach on new construction in this part of Whatcom County:
Salt air and marine exposure
Proximity to the bay means airborne salt settles on exterior surfaces year-round, not just during storms. Salt accelerates corrosion on unprotected fasteners, degrades certain sealants faster than inland use would suggest, and can shorten the service life of lower-grade window hardware. We factor this into fastener selection and flashing metal choice rather than treating every install the same regardless of distance from the water.
Driving rain
Wind off the bay doesn't just drop rain straight down — it pushes it sideways into wall assemblies, which is exactly the condition that exposes a sloppy window flashing job. A window that would perform fine in a low-wind climate can leak here if the sill pan, weather-resistive barrier laps, and head flashing aren't sequenced correctly. On new construction this is actually good news: we're building the drainage plane from scratch, so we control every lap and seal before siding ever goes on.
Moss, shade, and prolonged moisture
Edgemoor's tree cover keeps a lot of homes shaded, which is pleasant in July and a moisture liability the rest of the year. Shaded wall sections dry out slower after rain, and moss and algae take hold on surfaces that stay damp longer. That's less about the window unit itself and more about what surrounds it — sills, trim, and the siding-window interface need materials and details that tolerate sustained dampness rather than shedding water quickly and drying fast, which is the assumption baked into a lot of generic installation instructions.
What "Correct" Looks Like on a New-Construction Window Install
New-construction windows (as opposed to pocket replacement units) have a nailing fin and are installed before siding, which means the flashing details are fully accessible and there's no excuse for cutting corners. A correct install, in order, looks like this:
- Rough opening check — confirmed square, plumb, and sized correctly before the window ever gets set. An opening that's slightly out of square gets shimmed and corrected now, not compensated for later with caulk.
- Sill pan flashing — a sloped, sealed pan at the bottom of the opening so any water that gets past the window has somewhere to go besides the framing. This is the single most skipped step on cheap installs and the one that causes the most rot when it's missing.
- Window set and shimmed — level, plumb, and fastened per the manufacturer's schedule, not just wherever a nail happens to line up.
- Jamb and head flashing — integrated with the weather-resistive barrier in the correct shingle-lap order (sides before top) so water is always directed outward and down, never trapped behind the flashing.
- Sealant at the right joints only — sealed where it needs to stop water, left open where the assembly needs to drain or breathe. Over-sealing a window is almost as common a mistake as under-sealing it, and it traps moisture instead of releasing it.
- Interior air seal — a separate step from the exterior weatherproofing, closing the gap between window frame and framing on the inside to control drafts and condensation.
Every one of these steps has to happen before siding closes the wall up. Once siding is on, most of this becomes invisible and very expensive to fix — which is exactly why we treat the pre-siding window stage as a checkpoint we don't rush past.
Our Process for Edgemoor New Builds
1. Plan review and window selection
We start by looking at the build's window schedule, elevations, and any architect or builder specs. In Edgemoor specifically, we pay attention to which walls face the water or open exposure versus which are sheltered by trees, because that affects both material recommendations and how aggressive the flashing detail needs to be on a given elevation.
2. Coordination with the builder's schedule
New-construction window installs happen at a specific point in the build sequence — after the weather-resistive barrier is on, before siding starts. We coordinate directly with the general contractor or builder so we're on site at the right window, not holding up the schedule or getting rushed through flashing details because siding crews are waiting.
3. Flashing and installation
This is the work described above: sill pans, correct lap sequencing, proper fastening, and sealing only where sealing belongs. We document the flashing before it's covered by siding, which matters both for our own quality control and for any warranty or inspection questions down the line.
4. Final fit and adjustment
Before we consider a window done, we check operation, weatherstripping contact, and that the interior air seal is complete. A window that leaks air is usually a window that will eventually leak water too, so we don't treat these as separate concerns.
Choosing Windows for a Bay-Adjacent Property
Window unit selection matters less than installation quality, but it's not irrelevant. For homes with more direct exposure to marine air and wind, we generally steer clients toward:
- Corrosion-resistant hardware and fasteners rather than standard-grade options that aren't rated for coastal or near-coastal exposure
- Vinyl or fiberglass frames with manufacturer warranties that explicitly cover coastal/marine environments, since not all warranties do
- Low-E glass appropriate for the Pacific Northwest's cooler, cloudier climate rather than a high-solar-gain glass package built for sunnier regions
- Finishes and cladding that hold up to repeated wet-dry cycling without chalking or fading prematurely
We'll talk through specific manufacturers and product lines once we know the scope of the build — the right call depends on budget, the home's design, and how exposed each elevation actually is, which varies a lot even within Edgemoor depending on tree cover and lot orientation.
Cost Factors for New-Construction Windows
New-construction window installation is priced differently than replacement work, mainly because there's no old window or siding to remove — but there are other variables that move the number:
| Factor | Why it affects cost |
|---|---|
| Number and size of openings | More windows and larger units mean more flashing detail work and material, even before unit cost is considered |
| Window unit grade | Builder-grade vinyl vs. upgraded vinyl/fiberglass with marine-rated hardware carries a real price spread |
| Elevation exposure | Walls facing open wind or water exposure often get more robust flashing details, which adds labor |
| Access and staging | Wooded or sloped Edgemoor lots can add setup time compared to a flat, open lot |
| Coordination complexity | Tight builder schedules with multiple trades on site can add logistics overhead |
We give firm numbers only after seeing the plans and the site — anything else is a guess, and we'd rather quote accurately than lowball and revise later.
Common Mistakes We See (and Avoid)
- Skipping or improvising the sill pan — relying on sealant alone at the sill instead of a real drainage path for water that gets past the window
- Wrong flashing lap order — taping the head flashing before the side flashing, which directs water behind the barrier instead of over it
- Fastening into the wrong material — nailing fins secured into sheathing without hitting framing where the schedule calls for it
- Over-sealing — caulking every visible gap, including ones meant to let the assembly drain, which traps water instead of shedding it
- Standard hardware on exposed elevations — using inland-spec fasteners and hardware on a wall that takes direct salt air and wind-driven rain
None of these mistakes show up on day one. They show up two, five, or ten years later as staining, soft trim, or interior moisture — which is the whole argument for getting the install right the first time rather than fixing it after siding is already up.
Why Local Experience Matters Here
A window installer who mostly works inland or in a drier region isn't wrong about window installation in general — they're just calibrated for a different set of conditions. Fairhaven and Edgemoor sit in a specific microclimate within Whatcom County: enough marine exposure to matter, enough tree cover to slow drying, and enough driving rain in the fall and winter to expose any shortcuts in the flashing sequence. Crews that work this area regularly build habits around sill pan drainage, lap sequencing, and material selection that generic instructions don't always emphasize strongly enough. That's not a knock on the trade broadly — it's just the difference between a crew that's flashed a hundred windows in this specific weather pattern and one that's flashed a hundred windows somewhere drier.
A Practical Checklist Before Your Windows Go In
- Confirm the window schedule matches the approved plans and any energy code requirements for the county
- Verify the weather-resistive barrier is installed and lapped correctly before window crews arrive
- Ask what sill pan flashing method will be used and confirm it's a sloped, sealed pan — not sealant alone
- Confirm fastener and hardware grade if the home has any direct exposure to open wind or water
- Ask for photos of flashing details before siding covers them, for your own records
- Confirm interior air sealing is included as a separate step, not assumed to happen automatically
Get a Local Estimate
If you're building or planning a build in Edgemoor and need new-construction windows installed correctly the first time, we're happy to take a look at your plans and walk the site. There's no pressure and no cost to get a straight answer on scope and timing — just fill out the form below and we'll follow up to schedule a free estimate.