 Fairhaven Siding
 Building New in Marietta Means Planning for the Bay Right From the Start
Marietta sits close enough to Bellingham Bay that the weather off the water shapes almost every exterior decision on a new build, and windows are no exception. Salt-laden air corrodes hardware and finishes faster than it does further inland. Wind-driven rain off the bay doesn't fall straight down — it gets pushed sideways into wall assemblies, which means flashing details that would be "good enough" in a sheltered inland lot can fail here within a few wet seasons. And Whatcom County's long, damp moss season keeps north-facing walls and shaded elevations wet for months at a stretch, which is hard on sealants and anything with exposed wood trim.
None of that means new-construction windows in Marietta need to be exotic or expensive. It means the installation details — the ones nobody sees once the siding goes on — have to be right the first time. On a new build, you get exactly one chance to integrate the window into the wall assembly correctly before it's covered up for the next 30-plus years.
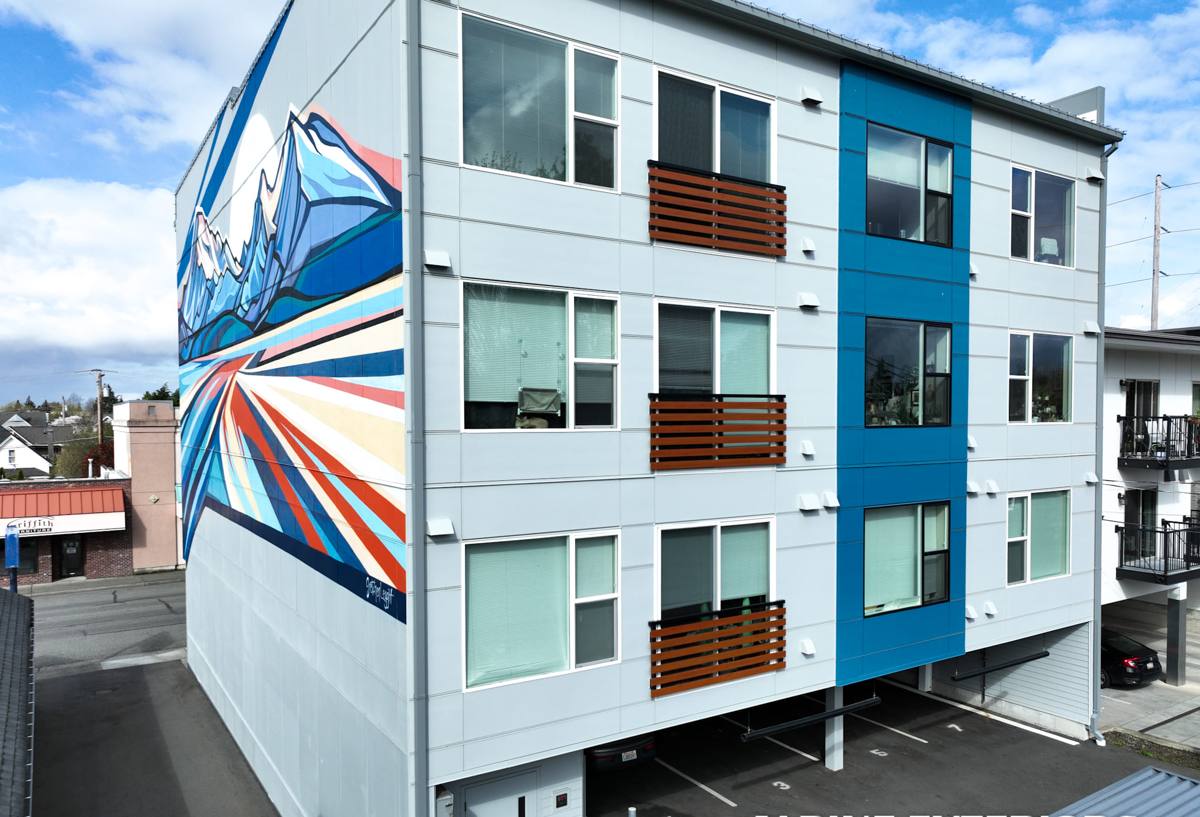
New-Construction Windows Are a Different Job Than Replacement
A lot of homeowners in this area have had replacement windows put into an existing opening at some point, and it's a fair question why new-construction installs are talked about so differently. The short answer: on a new build, the window isn't going into a finished wall — it's going into a framed, sheathed rough opening before the water-resistive barrier (WRB) and siding are on. That gives us the chance to build the drainage plane and flashing around the window as one continuous system, rather than working around what's already there.
New-construction windows typically have a nailing fin (also called a flange) around the perimeter that gets integrated into the WRB. Done correctly, this creates a shingle-lapped, gravity-fed drainage path where any water that gets past the exterior cladding is directed back out, not into the wall cavity. This is the single biggest reason new-construction installs perform better long-term in a wet marine climate than a retrofit ever can — but only if the flashing sequence is followed in the right order.
What a Correct Installation Actually Involves
The Sill Pan Comes First
Every new-construction window opening should get a sloped or flashed sill pan before the window ever goes in. This is the detail most often skipped or rushed on production builds, and it's the one that matters most. If water ever gets past the window itself — through a failed seal, a wind-driven rain event, or simple age — the sill pan is what keeps that water from sitting on the rough sill and rotting the framing underneath.
Flashing Tape and the WRB Sequence
The order matters: WRB laps over the head flange, side flanges get taped next, and the sill is treated last so that water draining down the wall sheds over each layer below it, never behind it. Reversing this sequence — even by a single course — creates a spot where water can work its way behind the barrier instead of over it.
Shimming, Fastening, and Insulation
A window that isn't shimmed square will bind, won't lock tight, and will let in drafts no amount of caulking fixes later. We shim at the manufacturer's specified points, fasten through the flange (not just through trim or brick mold), and use low-expansion foam or backer rod and sealant around the frame — never standard high-expansion foam, which can bow vinyl and fiberglass frames out of square.
Exterior Sealant as a Backup, Not the Primary Defense
Caulking the exterior trim line is the last step, not the main waterproofing strategy. If the flashing and sill pan are done right, exterior sealant is a secondary layer, not the only thing standing between the wall cavity and Fairhaven's rain.
Choosing Frame Materials and Glass for This Climate
New construction gives you a clean slate on window selection, which is worth spending a little time on rather than defaulting to whatever a plan set specifies. For a home this close to the bay, the practical differences between frame materials show up mostly in long-term maintenance and how the frame handles moisture and salt exposure over time, not in day-one appearance.
| Frame Material | Upfront Cost | Maintenance in Marine Climate | Notes for This Area |
|---|---|---|---|
| Vinyl | Lowest | Low — won't rot or corrode, but welded corners can stress over decades of temperature swing | Solid, budget-friendly choice for most new-construction openings here |
| Fiberglass | Mid to high | Very low — dimensionally stable, handles the wet/dry cycling of a marine climate well | Worth the upgrade on larger openings or higher-exposure elevations facing the bay |
| Wood-clad | Highest | Higher — exterior cladding protects the wood, but any breach in that cladding lets moisture reach bare wood | We're careful about where we recommend this given how much damp shade this area gets; it can work well on protected elevations |
On glass, a double-pane low-E unit with argon fill is standard and performs well here. For west- and south-facing openings that catch direct rain and wind off the water, we'll sometimes suggest a slightly higher-performance glass package — it costs more up front but reduces condensation risk on cold, damp mornings, which is a common complaint in this climate long before any framing or seal actually fails.
How We Coordinate With Your Builder or GC
New-construction windows aren't installed in isolation — they have to land at the right point in the framing and siding schedule, and the sequencing has to be agreed on before the crew shows up. We typically get involved once the sheathing and WRB are on and rough openings are framed to the window supplier's specs, confirm rough opening sizes against the actual window order (a mismatch here is the single most common cause of install delays), and coordinate our flashing work with whoever is running the siding so there's no gap in the drainage plane between our work and theirs.
If you're the homeowner and not the GC, it's worth asking early who owns responsibility for that WRB-to-window handoff — it's a detail that sometimes falls between trades if nobody names an owner for it.
Before the Windows Go In: A Quick Checklist
- Rough openings measured and confirmed against the actual window order, not just the plan set
- Sill pans installed and sloped or flashed before any window is set
- WRB installed and lapped correctly at the openings before window arrival
- Flashing tape sequence planned: sides after WRB, sill treated last
- Fastening schedule confirmed against the window manufacturer's specs (not generic framing nails)
- Low-expansion foam or backer rod and sealant on hand — not standard high-expansion foam
- A clear handoff plan agreed with the siding crew so there's no gap in the drainage plane
Why a Crew That Already Works Marietta Matters
Whatcom County's inspection and permitting requirements, and the way local building departments expect flashing details documented, aren't identical to what a crew coming from further inland might default to. A crew that regularly works Fairhaven and Marietta jobs already knows how local inspectors expect sill pans and flashing sequences to look, which elevations on a given lot tend to take the worst of the driving rain, and how much wetter a shaded, moss-prone north wall stays compared to a wall that gets afternoon sun. That's the kind of judgment that comes from doing the work here repeatedly, not from a manufacturer's install manual alone.
It also matters for scheduling. New-construction window installs have to happen inside a specific window in the framing sequence — too early and the openings aren't ready, too late and it holds up the siding crew. A crew that's used to the pace of builds in this area is easier to slot into a tight schedule without becoming the bottleneck.
Living With the Windows: Moss Season and Salt Air Upkeep
Once the home is finished, a little seasonal attention keeps new-construction windows performing the way they're supposed to. In this climate that mostly means rinsing accumulated salt film off exterior glass and frames a couple of times a year, keeping gutters and downspouts clear so runoff isn't sheeting directly across window heads, and doing a quick visual check of exterior sealant lines each fall before the wet season sets in. None of this is heavy maintenance — it's the kind of upkeep that catches a small sealant crack before it becomes a wall problem, which matters more here than in a drier climate simply because the wet season is so long.
Ready to Talk Windows?
If you're planning a new build or addition in Marietta or elsewhere around Fairhaven, we're happy to walk the site, talk through rough opening sizing and frame options for your specific elevations, and coordinate directly with your builder's schedule. There's a form below — reach out for a free, no-pressure estimate.