 Fairhaven Siding
 New-Construction Windows in Downtown Bellingham
Downtown Bellingham sits close enough to Bellingham Bay that salt-laden air, wind-driven rain, and long stretches of damp, mossy weather are just part of owning property here. When you're building new or adding onto an existing structure in this part of Whatcom County, the windows you choose and how they're installed will decide whether that building stays dry and efficient for the next 20-plus years, or starts showing rot and drafts within a decade. New-construction windows are installed into open framing before siding and trim go on, which means the installer has full access to the sheathing, the weather-resistive barrier, and the rough opening itself. Get that stage right and everything downstream — paint, trim, drywall, energy bills — holds up. Get it wrong, and problems get sealed behind finished walls where nobody sees them until there's a stain on the drywall.
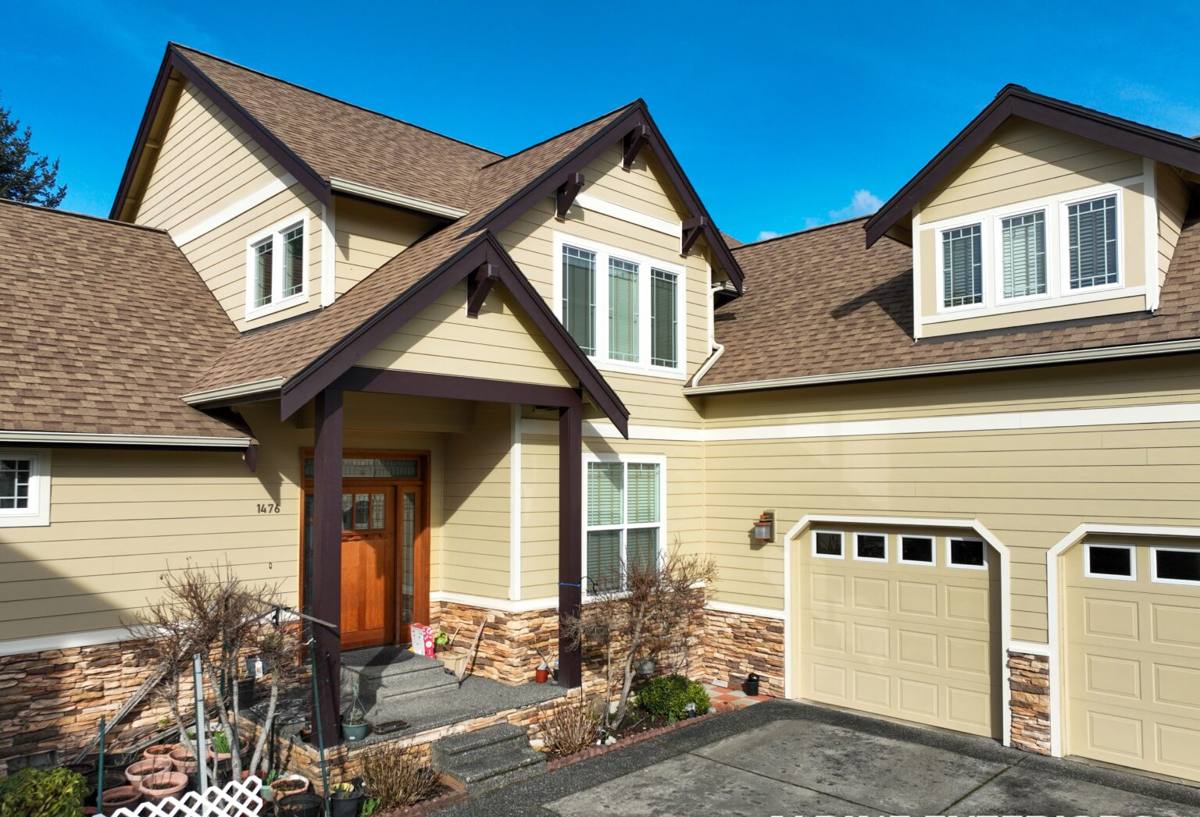
Why Downtown Bellingham's Climate Changes the Job
New-construction window installation is the same basic trade skill everywhere, but the details that matter shift depending on exposure. A few things specific to this area:
Salt Air and Metal Fatigue
Proximity to the bay means airborne salt settles on window hardware, screen frames, and exposed fasteners over time. It's not dramatic, but it's constant. We favor corrosion-resistant fasteners and hardware finishes for anything near the water, and we pay attention to how a window's cladding and weep systems handle that exposure rather than assuming inland-rated hardware will hold up the same way here.
Driving Rain, Not Just Rain
Bellingham gets wind-driven rain that pushes water sideways and upward against a building face, not just straight down. A window that's watertight in a still-air test can still leak under wind pressure if the flashing details around the rough opening aren't built for that condition. This is where new-construction installation has a real advantage over a retrofit — we can build a proper sloped sill pan and layer the flashing correctly before anything is covered up.
Moss Season and Sustained Dampness
The long wet season here means wood trim, sills, and any organic material around a window opening stay damp for extended stretches, which is exactly the condition moss, mildew, and rot organisms need. Detailing that sheds water quickly and doesn't trap moisture against wood matters more here than in drier climates.
What a Correct New-Construction Window Install Involves
New-construction windows have a nailing flange (or fin) that gets integrated directly into the wall's water management system, unlike replacement windows that get inserted into an existing frame. Done right, the sequence looks like this:
- Rough opening is checked for square, level, and correct dimensions before the window ever shows up on site.
- A sloped sill pan flashing is installed at the bottom of the opening so any water that gets past the window has a path to drain back outward, not sit against the framing.
- Weather-resistive barrier (house wrap or equivalent) is cut and integrated with the sill pan and side flashing in the correct shingle-lap order — bottom first, then sides, then top, so water always sheds downward and outward at every layer.
- The window is set, checked for square and level again, and fastened through the nailing flange per the manufacturer's schedule.
- Flange is taped or flashed on the sides and top, integrating with the WRB above it.
- Gaps between the window frame and rough opening are insulated (not packed solid) and, where called for, backed with a code-compliant air seal.
- Interior and exterior trim goes on last, once the water management layers are confirmed complete.
Skipping or reordering any one of those steps is how a brand-new window ends up with a hidden leak path. The flashing order is the part that gets rushed most often on tight construction schedules, and it's the part that costs the most to fix later because it's buried behind siding and trim.
Our Process for Downtown Bellingham Projects
We approach new-construction window work as a sequence of checkpoints, not a single pour-and-done task:
1. Plan Review and Product Selection
We look at the building plans, the wall assembly, and the exposure of each elevation. A wall facing prevailing wind and rain off the bay may get a different flashing detail or window performance rating than a protected side of the same building.
2. Rough Opening Verification
Before any window is installed, we confirm each opening is framed correctly. Catching a framing error at this stage takes minutes; catching it after siding is on takes a demolition crew.
3. Flashing and Water Management
This is the step we spend the most care on, given how much wind-driven rain this area sees. Sill pans, WRB integration, and flange flashing are installed in the correct sequence with attention to slope and lap direction.
4. Installation and Fastening
Windows are set square and level, shimmed correctly so the frame isn't under stress (which causes operational problems and seal failure down the road), and fastened per the manufacturer's specified schedule — not "close enough."
5. Air Sealing and Insulation
Gaps are filled with low-expansion foam or backer rod rather than standard spray foam that can bow a frame out of square.
6. Final Inspection Before Cover-Up
We walk every opening before siding and interior finishes go on. This is the last point where a flashing mistake can be fixed cheaply.
Comparing Window Approaches for New Construction
| Factor | New-Construction Flange Window | Retrofit/Insert Window Used at New Build |
|---|---|---|
| Water management | Full flashing integration with WRB, built from scratch correctly | Relies on existing frame, no true flange integration |
| Best used when | Framing is open and exposed (new build, additions, full replacement of siding/sheathing) | Existing window frame is sound and wall isn't being opened up |
| Long-term risk in this climate | Low, if installed to sequence | Higher — an insert wasn't designed for a fully open wall assembly |
| Trim and finish flexibility | Full control over interior and exterior trim profiles | Limited by existing frame dimensions |
If you're framing new walls or opening existing ones down to the studs for a remodel, a true new-construction window is almost always the right call — using an insert-style window in an open wall assembly leaves you with a weaker water management path than the situation calls for.
Cost Factors to Expect
We don't quote pricing without seeing the plans and the site, but a few things consistently move the number:
| Factor | Why It Matters |
|---|---|
| Window size and count | Larger openings and more units mean more flashing labor and material, not just glass |
| Wall exposure | Elevations facing prevailing wind/rain off the bay may warrant extra flashing detail or higher-performance units |
| Framing accuracy | Out-of-square or incorrectly sized rough openings add labor to correct before installation |
| Window performance rating | Higher wind-load and water-resistance ratings cost more but matter more on exposed sides of the building |
| Trim and finish level | Custom interior/exterior trim adds finish-carpentry time beyond the window install itself |
A Homeowner's Pre-Install Checklist
Whether you're working with us or another crew, these are worth confirming before windows go in:
- Rough openings are verified square and correctly sized against the window schedule, not just "close."
- A sloped sill pan is planned for every opening, not just the ones facing the weather.
- The flashing sequence (sill, sides, head) is documented so it can be inspected before cover-up.
- Fastener and hardware specs account for salt air exposure if the site is near the bay.
- Someone signs off on flashing and water management before siding or interior finishes cover the openings.
- Window performance ratings (wind load, water resistance) match the exposure of each wall, not a one-size-fits-all spec.
Why Local Experience on This Type of Job Matters
New-construction window installation is unforgiving in the sense that mistakes get covered up and don't show themselves until years later, usually as a stain, a soft spot in trim, or a draft that wasn't there before. A crew that regularly works in Downtown Bellingham and the surrounding Whatcom County area has already seen how local wind, rain, and moss patterns behave against real buildings — which elevations tend to take the worst of the weather, which flashing habits hold up over a wet winter, and where a shortcut that works fine in a drier climate will fail here. That's not something you can fully substitute with a generic installation manual, even a good one.
Get an Estimate for Your Downtown Bellingham Project
If you're planning new construction, an addition, or a remodel that opens up the walls in Downtown Bellingham or elsewhere in Whatcom County, we're happy to walk the plans with you and give you a straightforward, no-pressure estimate on the window work. Use the form below to get started.