 Fairhaven Siding
 New Construction Is a Different Job Than Replacement
Installing windows during new construction is not the same trade as swapping an old window out of an existing wall. On a new build in Columbia, the opening is bare framing lumber — no interior trim, no exterior siding, nothing hiding a mistake. That's actually an advantage if the crew doing the work understands water management, because it means the entire path water could take into the wall is still exposed and controllable. It's a real liability if the crew treats it like any other install and rushes past the flashing details, because once the siding goes on, those details are buried for the life of the house.
New-construction windows are typically nail-fin units fastened directly to the sheathing, integrated with the weather-resistive barrier (WRB) before any cladding is applied. Get that integration wrong, and the problem doesn't show up as a visible leak next winter — it shows up five or ten years later as rot in the framing, which is a far more expensive fix than getting it right the first time.
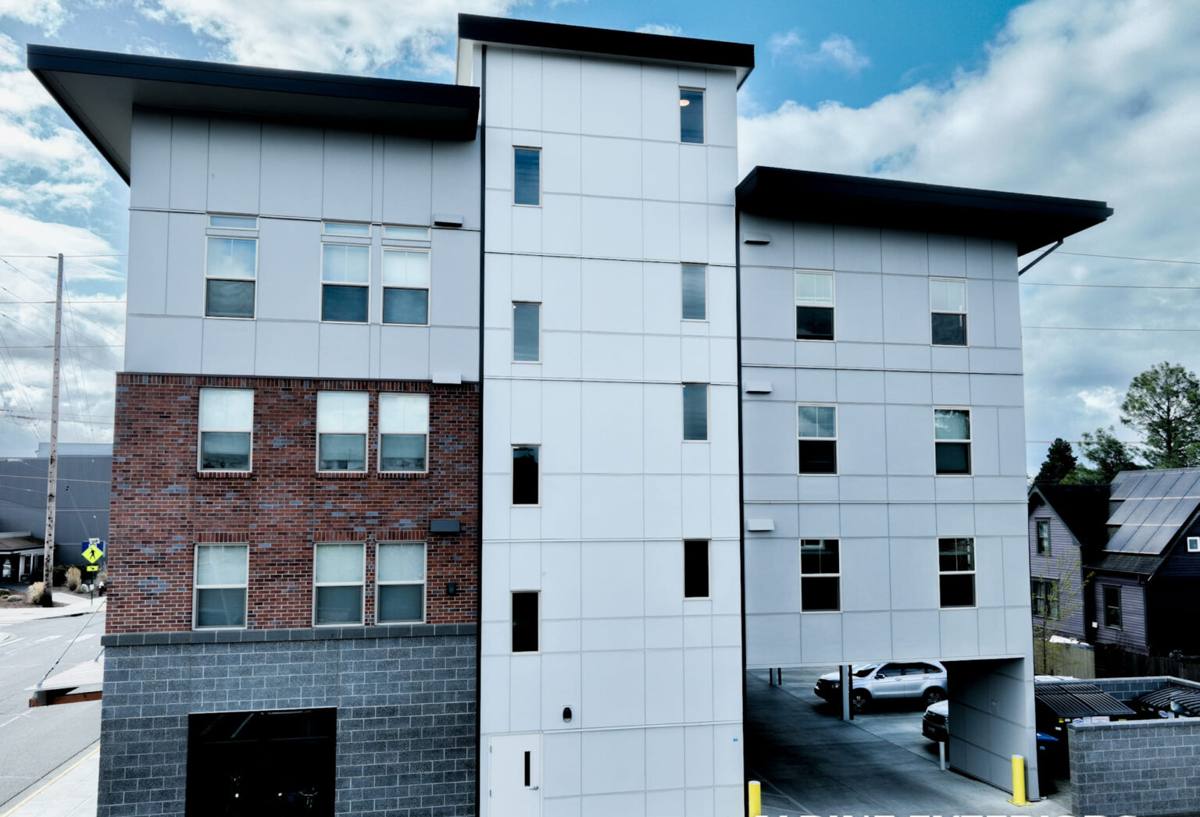
What Columbia's Coastal Climate Asks of a New Window
Columbia sits close enough to the water that the same conditions affecting the rest of Fairhaven and Bellingham Bay apply here: salt-laden air, weather that comes in sideways off the Salish Sea, and long stretches of the year where surfaces simply don't dry out. None of that is exotic, but it does change what "correct" looks like on a window install.
Salt Air and Hardware Corrosion
Airborne salt accelerates corrosion on anything metal — fasteners, cladding clips, hinge and lock hardware, even the nail fin itself if it's the wrong material. On a new build we spec corrosion-resistant fastener schedules rather than whatever came in the box, because a fastener that fails at year eight means pulling trim and siding to get at it.
Driving Rain and Flashing Sequence
Storms in this part of Whatcom County don't always fall straight down — wind-driven rain pushes water sideways and upward under laps that would shed a gentler rain just fine. A window opening that relies on caulk to stop that water, instead of a properly shingle-lapped flashing sequence, will hold for a season or two and then start letting water in behind the WRB.
A Long Moss Season Means Constant Moisture
Many Columbia lots carry good tree cover, which is part of the area's character but also means shaded wall sections and sills that can stay damp for months at a stretch. That's the same condition that grows moss on a roof — it also keeps window sills and lower trim wet longer than a sun-exposed wall would be, which raises the stakes on getting sill pan flashing and drainage right the first time.
Choosing the Right Window for This Site
There's no single "best" frame material for every new build — it depends on exposure, budget, and how the rest of the house is detailed. Here's how the common options actually compare for a Columbia-area new-construction project:
| Frame Material | Corrosion / Salt Air | Moisture Tolerance | Maintenance | Typical Cost Tier |
|---|---|---|---|---|
| Vinyl | Good — won't corrode, but hardware and reinforcement matter | Good if drainage details are correct | Low | Lower |
| Fiberglass | Very good — dimensionally stable, low expansion/contraction | Very good | Low | Mid to upper |
| Aluminum-clad wood | Good on the exterior face; wood core needs sealed end grain | Depends heavily on install quality | Moderate | Upper |
| Bare wood | Poor without diligent upkeep in a marine climate | Requires ongoing maintenance | High | Varies |
For most new builds in this area we steer homeowners toward vinyl or fiberglass unless the design calls for a wood interior look, in which case clad-wood can work — but only with rigorous end-grain sealing and flashing, since a marine climate is unforgiving of shortcuts on a wood-core product.
What a Correct Installation Actually Involves
This is the part that matters most and gets skipped most often when a crew is moving fast to keep a build on schedule. A correct new-construction window install, in order, looks like this:
- Rough opening checked for square, level, and correct sizing before the window ever shows up on site.
- Sill pan flashing installed with a back dam, sloped to drain outward — this is the single most-skipped step and the one that causes the most damage later.
- WRB integrated in proper shingle-lap order: sill pan first, then the window's own fin taped over the WRB at the jambs, then the head flashing lapped over the top of the WRB last, so gravity always moves water outward and down.
- Window set, shimmed square and plumb, and fastened per the manufacturer's schedule — not over-driven, which can bow the frame and cause the sash to bind or seal poorly.
- Low-expansion foam or backer rod used around the perimeter on the interior side — never a rigid, high-expansion foam that can bow a vinyl frame.
- Head flashing with a drip cap set to shed water clear of the sheathing below.
- Exterior trim and sealant applied at the top and sides only, leaving the bottom open as a weep path — sealing all four sides traps any water that does get in, which is how a small leak becomes rot.
Every one of those steps is inspectable at the time it's done. That's exactly why we walk new-construction jobs before the siding closes them in — once it's covered, you're trusting the install, not verifying it.
How We Work With Builders and Homeowners in Columbia
Most of our new-construction window work happens through coordination with a general contractor or builder, sometimes directly with a homeowner managing their own build. Either way, the process is the same:
We walk the framing before windows arrive to confirm rough openings match the window schedule and catch sizing problems while they're still cheap to fix. We consult on frame material and glazing package based on the specific exposure of each opening — a window facing prevailing weather off the water gets treated differently than one tucked under an eave on a protected side of the house. We install to the sequence above, and we document the flashing and WRB integration with photos before cladding goes on, so there's a record of what's behind the siding. Then we do a final walk with the builder or homeowner to close out any punch-list items before the crew moves to the next phase.
Cost Factors for New-Construction Window Packages
Pricing on a new-construction window package depends on more than just window count. The factors that actually move the number:
| Factor | Why It Affects Cost |
|---|---|
| Number and size of openings | More glass and larger units mean more material and labor per opening |
| Frame material | Vinyl, fiberglass, and clad-wood carry different material costs |
| Glazing package | Double-pane vs. triple-pane, and Low-E coating options, change unit cost and performance |
| Site access and stage of build | Coordinating around scaffolding, other trades, or a tight schedule adds labor time |
| Custom shapes or sizes | Non-standard openings (arched, oversized, corner units) require special-order units and extra flashing detail |
We give firm numbers once we've seen the window schedule and walked the openings — broad ranges without that are a guess, and we'd rather not guess on something that gets built into your walls for decades.
Where We See Problems Show Up Later
When we're called out to a Columbia-area home with a window leak, it's almost always traceable to one of a handful of shortcuts, not a defective window:
- Sill pan flashing skipped or replaced with just a bead of sealant
- WRB lapped in the wrong order, so water is directed behind the barrier instead of over it
- All four sides of the exterior trim sealed, leaving no path for incidental water to drain back out
- Fasteners over-driven, distorting the frame and breaking the factory seal on the sash
- Sealants used that aren't compatible with the specific WRB on that wall, which can fail to bond or degrade the membrane over time
None of these are exotic failures — they're basic sequencing and material-compatibility issues that a crew doing new-construction windows regularly, in this climate, learns to check for every time.
Why Local Experience in Columbia and Fairhaven Matters
A crew that installs new-construction windows across Whatcom County on a regular basis has already seen how a given lot's tree cover, slope, and orientation to the water change the flashing plan for that specific opening. They know how local building departments expect this work documented and inspected, and they've built working relationships with the general contractors active in this area, which keeps a window install from becoming the item that holds up a framing inspection. Just as important: if a question comes up two or three years after the build, a local contractor is still around to look at it, not a name from an out-of-town crew that moved on after the framing was closed in.
Questions to Ask Before You Hire
Whether you're a homeowner managing your own build or working through a general contractor, these are worth confirming before windows go in:
- Will you install sill pan flashing with a back dam on every opening, not just the most exposed ones?
- What's your shingle-lap sequence for integrating the WRB with the window fin and head flashing?
- Do you photo-document flashing details before siding covers them?
- What fastener and sealant products do you use, and are they rated for a marine/coastal climate?
- Can you walk me through how the weep path at the bottom of the trim stays open?
If a contractor can answer those without hesitation, they've done this enough times to get it right on your house too.
If you're planning a new build in Columbia or elsewhere near Fairhaven, we're happy to walk the framing with you or your builder and put together a straightforward, no-pressure estimate for the window package — just fill out the form below.